The dog days of summer are coming to a close. For pool owners, this seasonal shift means one important task is on the horizon: it’s time to winterize your pool.
Closing your pool for the off-season is one of the most critical maintenance tasks you’ll perform all year. It not only helps protect your investment from freezing temperatures and potential damage but also makes reopening your pool in the spring much easier and stress-free.
Whether this is your first time winterizing a swimming pool or you’ve done it once or twice before, the entire process can seem intimidating every time the season rolls around. Fortunately, our professionals are here to guide you through every step of pool winterization. Let’s get started!
The Ultimate Checklist for Winterizing Your Gibraltar Pool™
Before you begin, it’s best to gather all your tools and supplies in one place. This will streamline the process and prevent you from having to stop midway through to search for a missing plug or chemical.
Your Winterizing Supply Kit:
- Winterizing Chemical Kit: These kits typically contain everything you need, including a winter-grade algaecide, stain and scale preventer, and pool shock.
- Water Testing Kit: To balance your water one last time.
- Pool Cleaning Equipment: Skimmer net, leaf rake, wall brush, and pool vacuum.
- Winter Cover & Accessories: Your heavy-duty cover, cover clips, and an air pillow.
Plumbing & Equipment Supplies:
- Winterizing plugs for the return jet(s).
- A skimmer winterizing plate or a Gizzmo-style threaded plug.
- A shop vacuum or air compressor (for blowing out the lines).
- Non-toxic pool antifreeze (recommended for climates with deep freezes).
- Basic tools like wrenches for removing drain plugs.
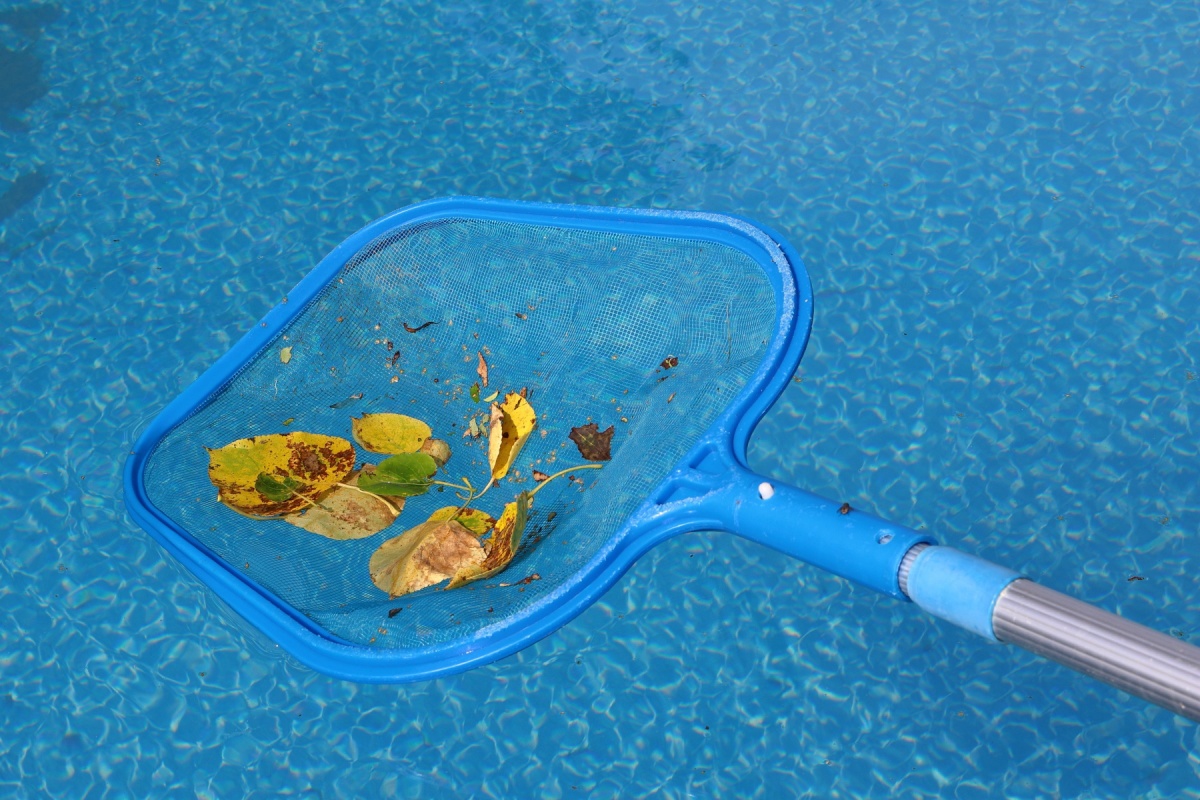
Step 1: Clean the Pool Thoroughly
About 5-7 days before your planned closing day, give your pool a thorough cleaning. Use your skimmer net to remove any leaves, insects, or debris floating on the surface. Then, brush the sides and floor to loosen any algae or buildup, and vacuum the pool completely.
Note: The cleaner your pool is when you close it, the less chance you’ll have of dealing with staining, scaling, or algae growth when you reopen it.
Step 2: Balance the Water Chemistry
Next, use your water testing kit to check the key chemical levels. Adjust them to fall within these ideal winter ranges:
- pH: 7.2-7.6
- Total Alkalinity: 80-120 ppm (parts per million)
- Calcium Hardness: 180-220 ppm
- Chlorine: 1-3 ppm
Allow the pump to run for several hours after adding any balancing chemicals to ensure they are fully circulated.
Why is it important to balance your pool’s water before winter arrives in full force? Well, balanced water prevents corrosion, scaling, and liner damage during the off-season. Ultimately, it helps your pool last longer.
Step 3: Add Winterizing Chemicals
With the pool sparkling clean and the water balanced, it’s time to add your winterizing chemicals. This step is crucial for keeping the water clear until spring.
- Shock the Pool: Add a granular pool shock according to the manufacturer’s instructions. A non-chlorine shock is an excellent choice for closing, as it won’t bleach or damage your liner over the winter months. Pre-dissolve the shock in a bucket of pool water before broadcasting it evenly across the pool’s surface.
- Add Algaecide: After letting the shock circulate for a few hours, add your winter algaecide. The algaecide will prevent algae spores from blooming and settling on and staining your pool’s surfaces.
Step 4: Lower the Water Level
To protect your skimmer and return lines from ice damage, you need to lower the water level. For a Gibraltar Pool™, the ideal level is approximately 4-6 inches below the bottom of the skimmer opening. This ensures that no water can enter the skimmer once it’s plugged. You can lower the water using your filter pump’s “waste” setting or with a submersible pump.
If you have a main drain, make sure to blow out the line using an air compressor or shop vac to remove any remaining water. Once it’s cleared, plug the line tightly with a winterizing plug.
Step 5: Winterize Your Pump, Filter, and Plumbing
Water left in your plumbing or equipment will expand when it freezes, which can crack pipes, the filter tank, or the pump housing, leading to expensive repairs. So, after turning off all power to the pool equipment at the circuit breaker, follow these tips for winterizing your pool’s pump, filter, and heater:
- Drain the Equipment: Locate and remove the drain plugs from your filter tank, pump housing, and heater (if you have one). Allow all the water to drain out completely. To avoid losing the plugs, a great tip is to store them in the pump’s strainer basket for the winter.
- Blow Out the Lines: Use a shop vacuum or air compressor set to “Blow” to force all water out of the plumbing lines.
- Skimmer Line: Connect the blower hose to the skimmer’s inlet pipe (at the equipment pad) or insert it directly into the skimmer. Blow air through until you see a steady stream of bubbles coming from the return jet. Once the line is clear, have a helper quickly and tightly insert a winterizing plug into the return jet inside the pool.
- Return Line: Now, move the blower to the return line at the equipment pad and blow it out. You’ll see bubbles coming from the skimmer. Once the line is clear of water, quickly install your skimmer winter plate or screw in your Gizzmo.
- Add Antifreeze (Optional but Recommended): For extra peace of mind, pour about a half-gallon of non-toxic pool antifreeze down the skimmer and return lines before plugging them. This protects against any remaining water that could freeze. Never use automotive antifreeze, as it is toxic and will contaminate your pool water.
Step 6: Remove and Store Accessories Properly
Remove ladders, accessories, and toys from the pool. Clean them with mild soap and water, allow them to dry completely, and store them indoors or in a sheltered area. This helps prevent rust, cracking, or fading from exposure to freezing temperatures.
Step 7: Install the Winter Cover
A high-quality winter pool cover is essential. It keeps out debris, sunlight, and unwanted contaminants while protecting your water balance. Ensure the cover is pulled tight across the pool and secured using cables or winches. Check that there are no gaps or loose areas where debris or wind could cause damage.
Now, Your Gibraltar Pool™ Is Winter-Ready!
And there you have it — you’ve successfully winterized your Gibraltar Pool™! By taking these steps, you’ve protected your pool from the winter’s chill and ensured it will be clean and ready for you once the weather starts warming up.
If you have any questions throughout the pool winterization process, our experts are happy to provide advice and tips. We’ve been designing and installing swimming pools for over 40 years and know them inside and out. Plus, we’re committed to helping our customers keep their pools in top condition season after season.
Is it time for a new pool? We can help you upgrade your above-ground or semi-inground pool to a Gibraltar Pool™, which will give you years of fun in the sun and add significant value to your property. Just contact us today to learn more about our pool installation services or to schedule a free backyard assessment!